Rain Gardens
Adopted from the Clean Water Campaign Web Site. See www.cleanwatercampaign.com
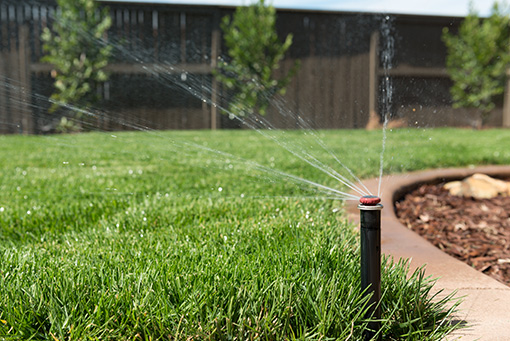
Maintaining a healthy yard is important to most residents in the metro Atlanta area. Over half of a group surveyed in a follow-up poll for the Clean Water Campaign said that they maintain their own lawns. However, your yard may not be as “green” as you think. Excess fertilizer and pesticides can wash off lawns when it rains and into a nearby storm drains and streams. Here are some tips for you to follow when maintaining your lawn that prevent water pollution while keeping a yard green.
Why Plant a Rain Garden
Every time it rains, fertilizers, pesticides, debris and other pollutants wash across lawns and driveways and down streets into the nearest storm drain. From there they go directly into a river, lake or stream. Over 800 miles of stream are polluted in metro Atlanta. Most of that pollution comes from storm water runoff. Planting a rain garden reduces pollution while giving you a garden that is easy to maintain and needs little or no watering.
Click here to download the Build Your Own Rain Garden brochure by The Conservation Foundation
About Rain Gardens
Planting a rain garden on your property is one way to conserve water, reduce your monthly water bill and help protect our waterways at the same time. All that is needed is some basic information, a little imagination and the space on your property to build a rain garden. Click Here for the rain garden brochure download.
Click here to download the Clemson University Rain Garden Manual.
How Rain Gardens Work
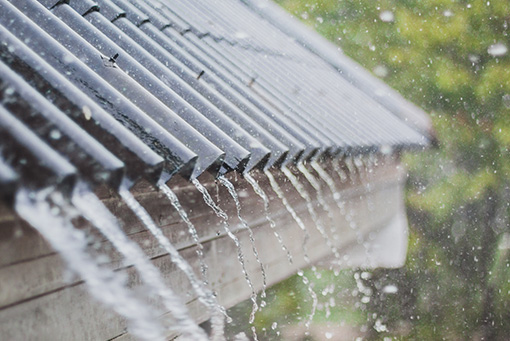
A rain garden receives storm water runoff water from roofs or other hard surfaces such as driveways. The rain garden holds the water on the landscape so that it can soak into the ground instead of flowing into a street and down a storm drain. The plants, mulch and soil in a rain garden combine natural physical, biological and chemical processes to remove pollutants from runoff.
An effective rain garden depends on water infiltrating into the soil of the garden. Water should stand in a rain garden no longer than 24 hours after the rain stops. Mosquitos cannot complete their breeding cycle in this length of time, so the rain garden should not increase mosquito populations at all.

How to Create a Rain Garden
Constructing a rain garden is easy, but it requires lots of shovel work when built by hand. Use the assistance of others to prepare and plant your rain garden. Teamwork reduces the amount of time it takes to construct a rain garden. It can be created alone, but if neighbors and friends are asked to join then they can learn the “hands on” value of a rain garden. Here are the main steps to creating a rain garden in your yard.
1. Use rope to layout the boundary of the rain garden.
- A rain garden should be curvy in shape and is best situated with the longest length perpendicular to the slope of the land.
- While there are no hard rules, the size of the roof area and the infiltration rate of the soil are keys to deciding how big to make a rain garden. The larger the roof area and the slower that water infiltrates into the soil the more area of rain garden needed.
- For calculating the rain garden size needed, the are draining to a rain garden includes the roof area that drains to the downspout and the area of land between the downspout and the rain garden.
- Soils with a lot of clay will infiltrate water very slowly, so the size of a rain garden in clay soils should be 60% of the drainage area. Sandy soils infiltrate water more quickly, so a rain garden on a sandy location does not need to be as large. For sandy soils, the rain garden size should be about 20 % of the area draining to it. Loamy soils can be sized somewhere between the 20-60% extremes keeping in mind that the slower the infiltration, the larger the area should be.
- If you plan to do it yourself and determine that your rain garden area needs to be greater than 300 square feet, then divide the drainage area between two or more rain gardens, and build each one as you can manage it.
2. Once the rain garden is laid out, it is time to start digging.
- The deepest ponding depth in the rain garden should be about 6 inches.
- Begin the digging by removing soil in the rain garden so that the deepest part is about 8 -10 inches deep.
- The bottom of the rain garden should be as level as possible.
- The extra soil removed from the rain garden should be used on the downhill side of the rain garden to create a berm an earthen barrier that will keep the water in the rain garden.
- The top of the berm should not be higher than the uphill edge of the rain garden.
3. A shallow swale or corrugated drain pipe should be set up to carry the water from the roof downspout to the rain garden.
- Corrugated pipe can be buried or above ground.
- If a shallow swale is created, it should be lined with turfgrass or rocks to prevent erosion in the swale.
- In the area between a roof downspout and the rain garden, there needs to be pervious ground with turfgrass, a ground cover or gravel and the land should slop down to the rain garden area to ensure that water does not stand anywhere around the foundation of the house.
4. Mix organic matter into the soil within the rain garden by spreading 2 to 4-inches of compost over the area and mixing the organic matter in with the existing soil.
- If the soil is acidic (has a low pH), lime should also be added to neutralize the pH of the soil.
- For soils with high clay content, it may be beneficial to remove about 1-2 feet of the soil and replace it with a more porous “rain garden soil”. A soil mix suitable for rain gardens is a mix of 50-60% sand, 20-30% topsoil, and 20-30% compost. The clay content in the rain garden soil replacement mix should be no more than 10%.
5. Establish a grass or groundcover border along the upper edge of the rain garden to slow down the runoff water as it enters the rain garden, and do the same over the berm to stabilize it as a border of the rain garden.
- Need some text here
6. Within the rain garden, plant drought tolerant, wet tolerant, hardy plants such as many of the native plants found in low areas.
Ornamental grasses, shrubs and self-seeding perennials are good choices.
- A mix of different plants is also desirable. Click here for a thorough plant list
- The Georgia Cooperative Extension Service Bulletin (H-91-009) A Compilation of Low-Maintenance Plants for Georgia Landscapes provides a comprehensive list of suitable plants.
7. Once plants are in place, the rain garden area should have a good covering of mulch put over it.
- Lighter mulches such as pine bark and straw will float and may be washed away to the edges in the rain garden, so better mulch choices for a rain garden are more dense materials such as pinestraw, wood chips or shredded wood.
8. Remove weeds on a regular basis as the landscape plants grow, and replenish mulch as needed.
- As the plants in the rain garden mature, there will be less need for mulch and weeding.
- Rain gardens should be relatively low maintenance if the correct plants are chosen.